Remember 2020?
In such an unpredictable time, many of us resorted to our plants, pets, and newfound hobbies for comfort. For me, it was a daily 2-hour jumprope session, and a whole lot of baking, failing, and baking again. As someone who had no prior experience in the kitchen, it felt like a time where mistakes were allowed. Baking had no objective; I was simply doing it for the enjoyment, as a way to express myself creatively.
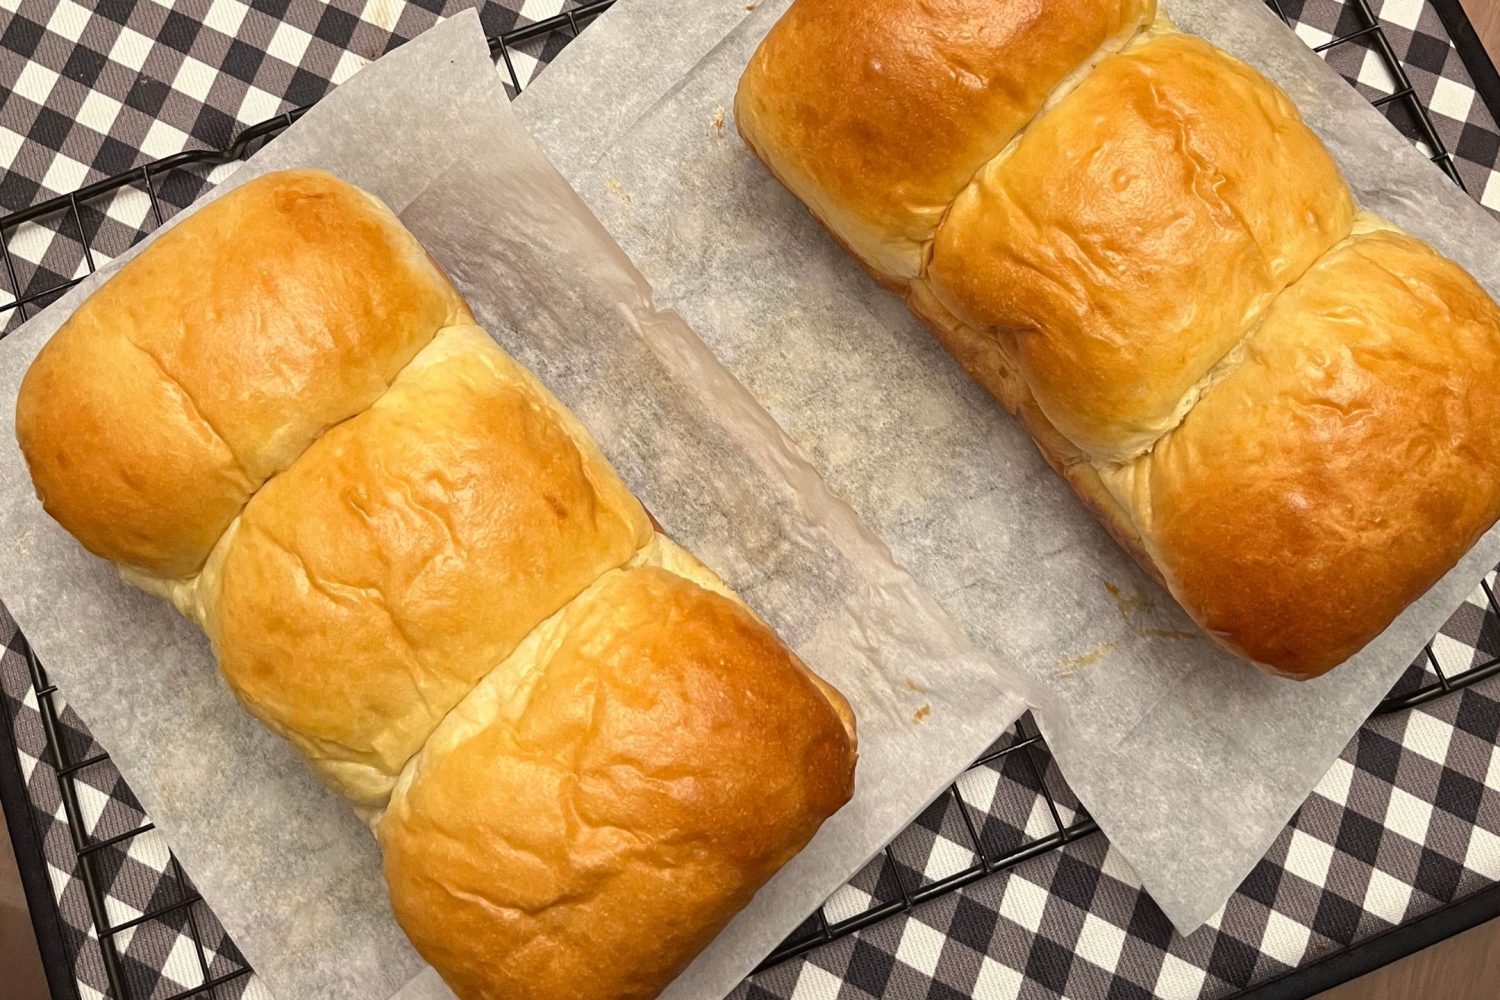
While I did fall into an 8-week banana bread rabbit hole, my number two most baked loaf was this: Milk Bread.
I didn’t realize it then, but all that baking turned out to be my first experience in pastry R&D. I analyzed every batch, jotted notes, and tested revisions for the next round or two (in reality, this Milk Bread recipe was tweaked 5 times). Today I develop recipes on a weekly basis, and sometimes I get them right by the first try. Yay, growth!
Soft and so flavorful on its own, but also a great base to a variety of sweet or savory fillings, this is my go-to base recipe for almost any bread.
Give it a try and check out my tips! This viral recipe is also on TikTok, where it has 500k views and counting. Love!
Soft Milk Bread
Yield: 2 8-inch loaves
Work Time: 30 minutes active + 90 minutes wait
Bake Time: 20-25 minutes
INGREDIENTS
Dough
- 375g bread flour
- 75g granulated sugar
- 6g instant dry yeast
- 8g fine salt
- 50g egg (1 large)
- 236g whole milk
- 75g unsalted butter, melted and cooled
- Extra flour only if needed, see tips.
Egg Wash
- 1 large egg
- 1 tbsp. water
METHOD
- MIX. In your stand mixer fitted with the dough hook, combine bread flour, sugar, and instant dry yeast. Mix for a few seconds, then stream in your milk, egg, and melted butter. Knead on low-medium speed until it forms a rough dough, then add salt.
- KNEAD. Starting on medium speed, gradually increase to high speed and knead until the dough is smooth, stretchy, and passes the windowpane test. This step can take anywhere from 15-30 minutes, depending on the strength of your mixer. See tips.
- PROOF. Shape the dough into a ball, then place into a large bowl. Cover with cling wrap and allow to proof in a warm area for 60 minutes or until at least doubled in volume. (Note: Proofing takes longer in cool weather!)
- DIVIDE. After proofing, uncover the dough and punch down the gases. Divide the dough into 6 equal pieces, about 130g each. Prepare two 8×4″ loaf pans by lightly greasing with oil/butter and lining with parchment paper.
- SHAPE. Flatten each piece of dough (by hand or with a rolling pin) to form a rectangle. Place the rectangle vertically, then fold the left and right sides towards the center. Roll upward to form a log, pinching the seams.
- PROOF. Place 3 logs per loaf pan, keeping the seams underneath. Cover with cling wrap and proof in a warm area for about 30 minutes or until doubled in volume, or until the dough meets the top of the loaf pan. Meanwhile, preheat your oven to 180°C.
- EGG WASH. Beat egg and mix with water, then gently brush on the proofed loaves.
- BAKE. Bake at 180°C for 20-25 minutes or until golden brown. Transfer to a wire rack to cool for 5 minutes, then lift the loaves from their pans. Let cool completely before slicing.
TIPS
How do I know when to stop kneading?
The total kneading time is highly variable. Factors such as the strength and size of your mixer, the brand of your bread flour, and more can affect this step. It’s important to note that the main objective of kneading is to build structure through gluten development.
Follow these visual cues, and you’re in for a successful batch:
- The dough is much smoother.
- The dough is very stretchy and less sticky.
- The dough passes the windowpane test.
If after 20 minutes of kneading your dough is still very sticky, you can sprinkle small amounts of flour, no more than a teaspoon at a time.
I don’t have a loaf pan. Can I still make this?
Yes! This dough is highly versatile, and you can divide it into smaller portions to make bread rolls. Sometimes I do rolls AND a loaf in one batch by portioning 3 pieces of 155g logs for the loaf, and 9 pieces of 35g rounds for the rolls. I bake the rolls in an 8×8 brownie pan, but you can simply use parchment-lined trays too.
Can I have the measurements in cups?
No. Jk! (But really.) Baking can be so therapeutic yet frustrating at times, and I’d hate for you to be disappointed over bread mishaps caused by inaccurate measurements. A kitchen scale is a great tool that gives you the best chance at baking amazing loaves and much more! (Less dishes to wash, too!)
Can I use other kinds of milk?
You can try, but I personally haven’t tested. Different kinds of milk contain different amounts of fat, and fat plays a major role in the flavor and texture of this bread. (It’s called milk bread for a reason!) If I do create a dairy-free version of this, I’ll post it here. ☺️
Thank you for checking out my recipes! Let me know when you try them out. If you have any questions, comment below or reach me on TikTok / Instagram!
.
How useful was this post?
Users rated this 5 / 5. Rate count: 2
Be the first to rate this.


8 thoughts on “Soft Milk Bread”
Can I use regular flour instead of bread flour?
Hi Glazel! Yes you can use all-purpose flour instead of bread flour. 🙂 Bread flour will make it taller and chewier, but all-purpose flour works too!
For the Round rolls – this requires 8×8 brownie pan or a square pan, Is the size of the pan important during baking?
Hi Pao! For the round rolls, doing 9 x 35g pieces will bake nicely in an 8×8 pan to give it the shape of the packed dinner rolls you’ll find in groceries. ☺️ However, you can still bake in a larger pan and add more rolls as necessary—as long as there’s space in between each piece. In the absence of baking pans, flat baking trays will also work.
Pingback: Coco Jam Swirl Buns Recipe - Hello Bake PH
Hi! Can I use a hand mixer, a whisk, or just my hands if a stand mixer isn’t available?
Hi! A hand mixer with a dough hook can work but it would take longer. Whisk not possible. By hand, it would take very long (maybe twice as long as a stand mixer) so I wouldn’t suggest unless you’re already used to it 🙂
Can I use this recipe for making the famous korean buns?