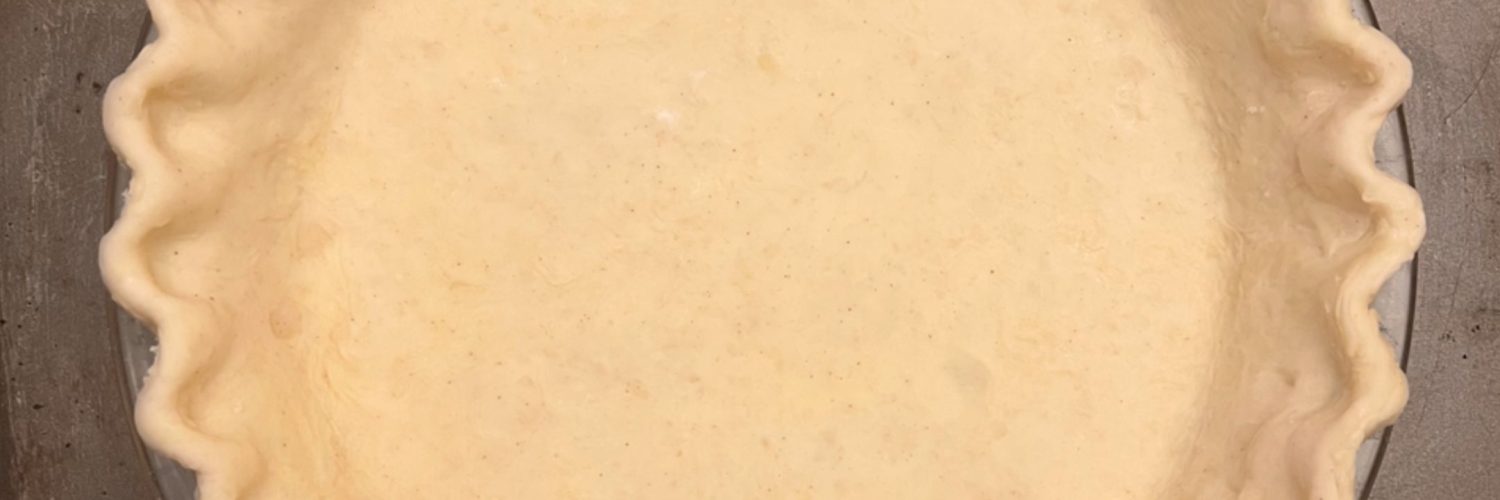
Flaky Pie Crust Part 2: Lining & Baking
Pie dough is ready—now it’s time for some action.
Now that you’ve made your pie dough, you don’t want to let your faux lamination efforts go to waste. Lining and baking your pie crust is easy—but it does require a bit more patience!
Make sure to follow these steps without skipping the resting times. Working with cold, firm dough allows you to bake up that buttery, flaky crust.
Try this out and let me know how it goes in the comments below. Also check out our Flaky Pie Crust series on TikTok for an in-depth tutorial!

WHAT YOU’LL NEED
- Prepared pie dough, chilled for at least 1 hour (See recipe here.)
- 9-inch pie plate
- Rolling pin
- Optional – parchment paper & pie weights, if par/blind baking
METHOD
- ROLL. Use a rolling pin to evenly roll out the dough on a lightly floured surface to about 1⁄8-inch thickness, and 1-2″ bigger than the pie plate all around.
- LINE. Transfer the dough into the plate, with the help of the rolling pin if needed. Adjust to fully line the inside, making sure there are no air pockets underneath, especially in the corners. Gently press dough to secure onto the plate.
- CHILL. Cover loosely with cling wrap, and chill for at least 15 mins.
- TRIM. Trim excess around the edges, leaving an even 1-inch border all around. Fold the border under itself to thicken, then crimp to your liking.
- CHILL. Cover loosely with cling wrap, and chill for at least 30 mins. before filling or baking. See tips.
From here, you can immediately fill and bake your pie, or do a par/blind-bake as in the method below. I always choose to par/blind-bake for a nice, flaky crust each and every time.
PAR-BAKE OR BLIND-BAKE
- PREHEAT. Preheat the oven to 220°C.
- DOCK & LINE. Once the oven is ready, dock the bottom and sides of the *cold* pie crust with a fork. Line the surface with wrinkled parchment larger than the plate. Fill to the brim with pie weights (dried beans/rice).
- BAKE. Bake (initially) for 18-20 mins. until the edges are golden, then remove the parchment and pie weights. Dock the bottom again with a fork to control puffing. Immediately return to the oven to continue baking at 200°C:
- Par-baked: Bake for 5-15 more mins. or until the interior is matte
- Blind-baked: Bake for 15-20 more mins. or until the edges are golden brown and the interior is golden
Ready to add your filling? Follow the steps of your chosen pie recipe from here on!
TIPS
Why chill before baking?
During baking, thin sheets of butter evaporate into steam. This steam creates flavorful air pockets in between layers of dough, giving the crust its crisp and flaky texture. When the butter is not cold enough before it hits the heat of your oven, it may simply melt into the dough, and fuse all those layers (which we worked so hard for!) together. Goodbye, flakiness!
Adjust, but don’t stretch!
One common mistake bakers make while lining their pie plates is pulling the dough until it eventually rips. If you’ve rolled out your dough 1-2 inches larger than your pie plate all around, it should comfortably cover the inside of the plate—no stretching needed! When you stretch your dough, it will surely shrink back as it bakes.
When to par-bake or blind-bake?
Par-baking is short for partial baking. This is for pies where the filling also needs to be baked in the oven, such as apple pies, pecan pies, egg pies, and more. Par-baking gives your crust a headstart in the baking process, making sure to give you a nice, flaky crust that can sturdily hold your filling. Without par-baking, you may end up with soggy bottoms.
On the other hand, blind baking is for pies where the filling does not need to be baked. Here, the pie crust is *fully* baked then cooled before adding the filling, which would typically need to fully set in the refrigerator. Examples of which are pudding pies and most curd-based pies.
Thank you for checking out my recipes! Let me know when you try them out. If you have any questions, comment below or reach me on TikTok/Instagram!
